
iPhones and iPads have gained a huge upsurge in popularity. More than 1.5 billion iPhones sold across the world since their inception which is enough evidence that iPhones are preferred heavily for personal as well as professional use. Along with iPhones, iPads are also popular among people who prefer bigger screens and want to use it for education as well as entertainment purposes.
Thanks to the flawless design and superior OS performance, iOS device users rarely switch to any other operating systems and want to experience a consistent user experience across all devices, personal as well as professional. And while BYOD (Bring your own device) trend is gaining more and more traction, iOS BYO devices are more popular. iOS users want to use their favorite devices for work and organizations need to create an infrastructure to secure the business data on these iPhones and iPads.
To facilitate iOS BYOD enrollment in a workplace, Scalefusion extends BYOD support for iOS platform. Employees can use their iPads and iPhones for work and access business resources, content and apps seamlessly, with Scalefusion. Companies, on the other hand, can secure the data on these devices.
One of the biggest IT concerns is, however, to enroll these iOS BYO devices into an MDM. Scalefusion simplifies the BYOD enrollment process for iOS, here’s how!
Let’s have a look at the step-by-step enrollment process for iOS BYO devices:
On the Dashboard Side:
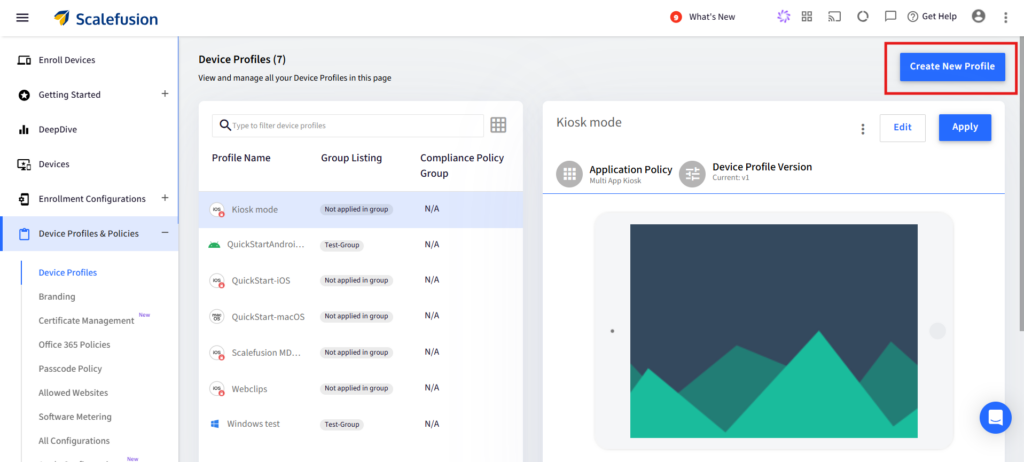
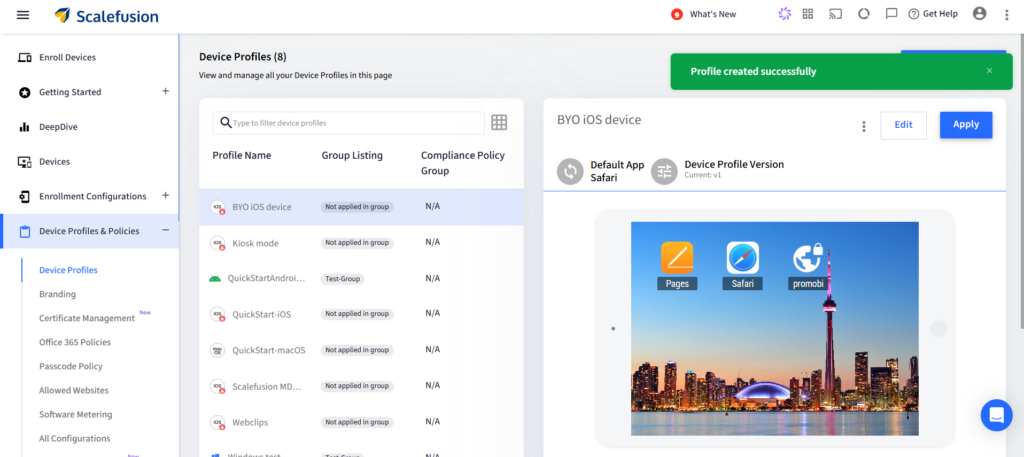
1. Navigate to the “Device Profiles & Policies” section. Here you can see the list of existing profiles created on your Scalefusion account.
Start creating a new profile for iOS BYOD management.
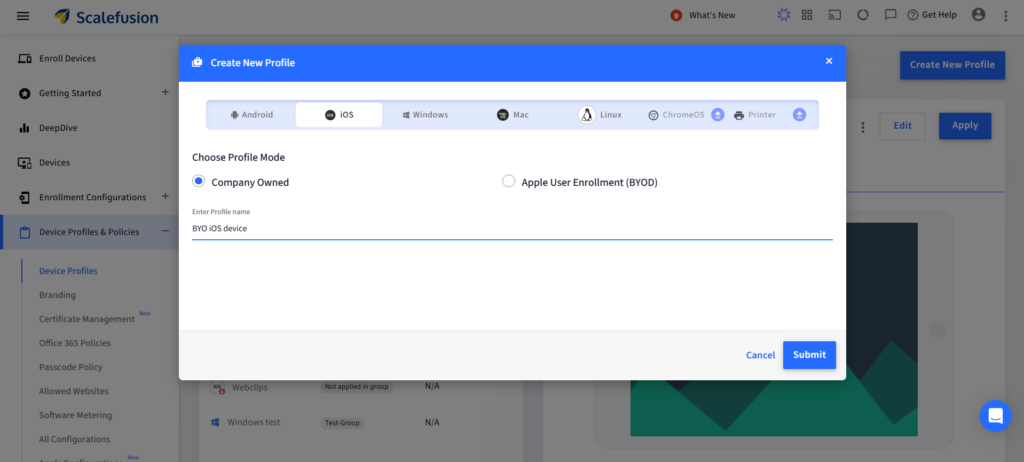
2. Select iOS configuration and enter Profile Name. Click on Submit.
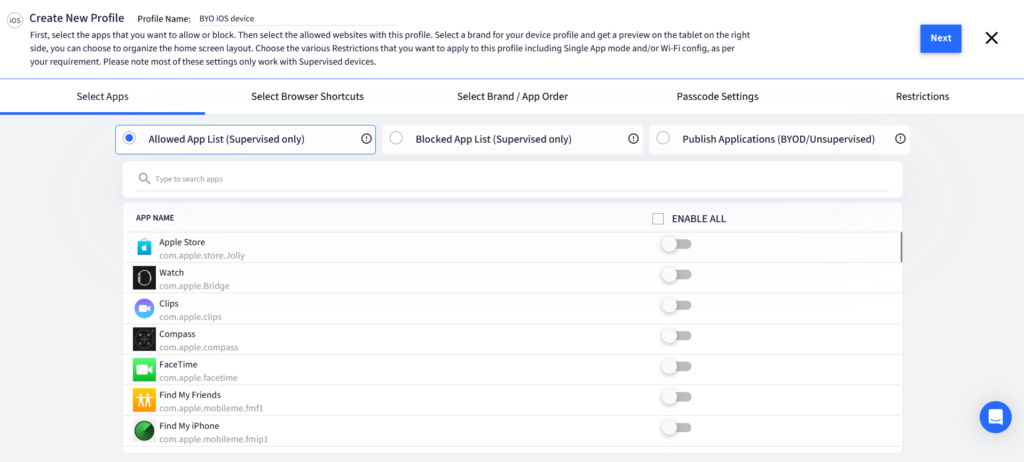
3. Here, you can choose configuration for supervised or unsupervised devices. BYO devices will commonly be unsupervised. Choose apps to be published on the devices.
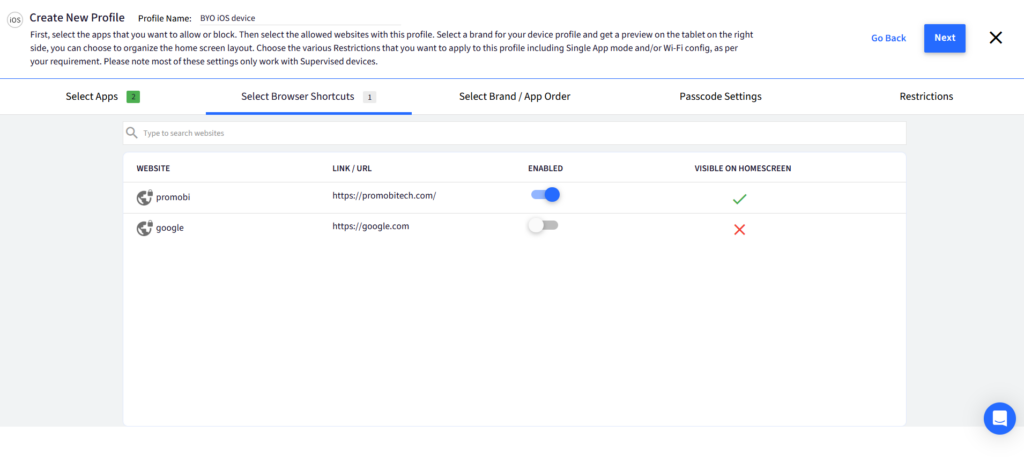
4. Enable website shortcuts which you have added in allowed website.
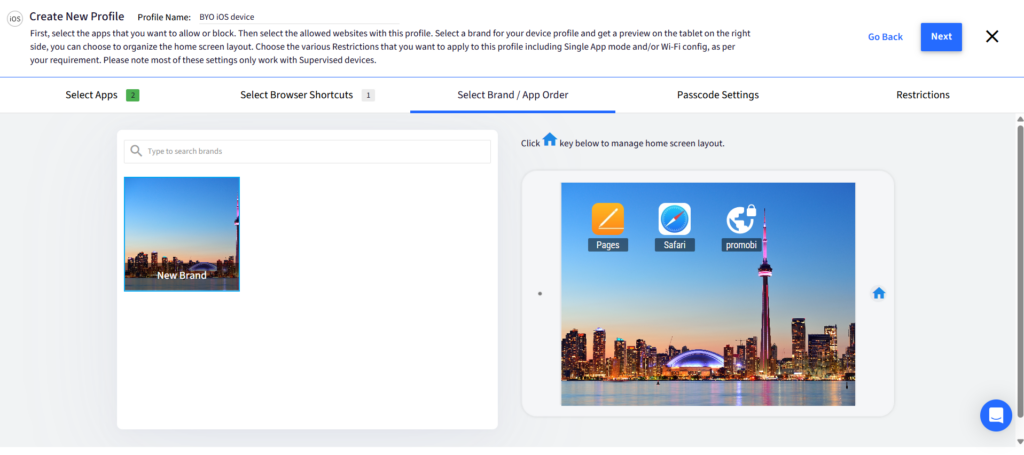
5. Apply branding or App order.
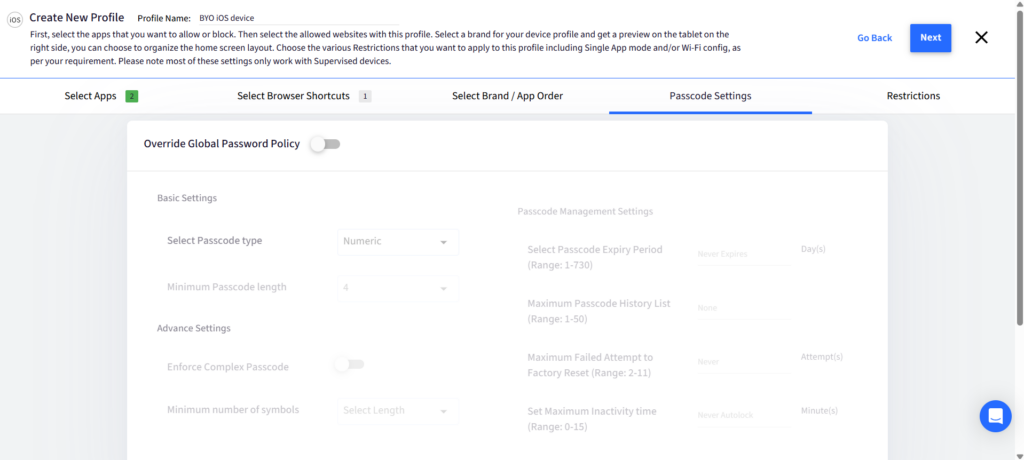
6. You can choose to override the global setting if you want to apply a unique passcode policy.
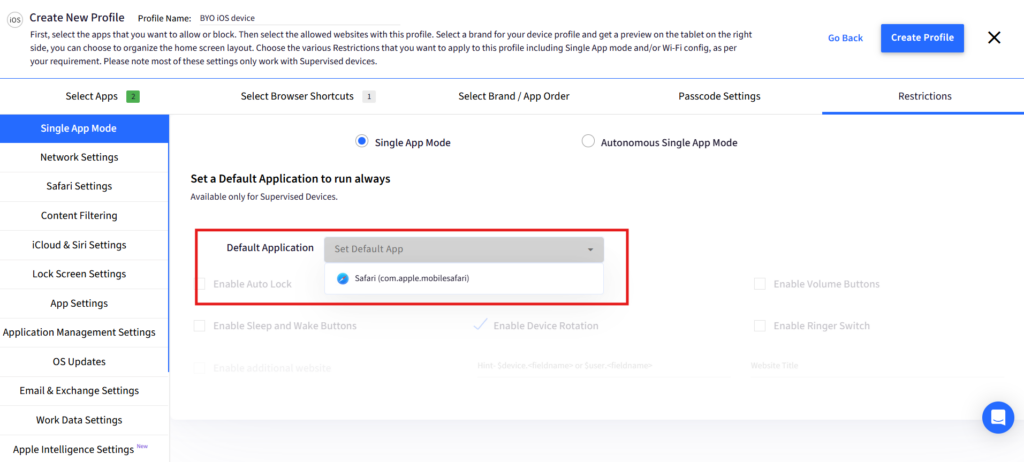
7. Configure restrictions as Single App Mode. (Note that you cannot configure Single App/ Autonomous Single App mode in unsupervised devices.) In this step, you can push network settings as well as email and Exchange settings on BYO devices.
8. Now your iOS BYOD profile is ready. This profile can be directly applied to enrolled devices and can be edited from the dashboard.
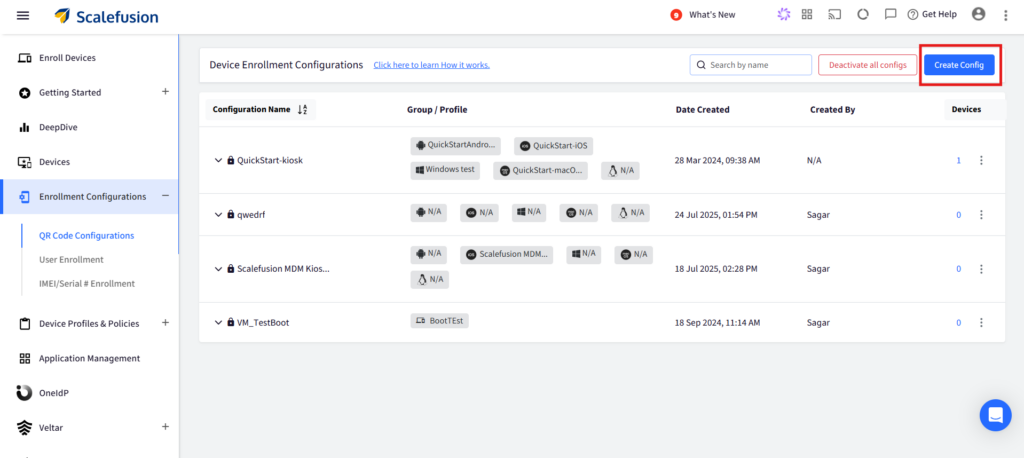
9. Now, navigate to the “enrollment Configurations” section. Here, in the QR Code Configuration section, you can see the entire list of QR code configurations created previously. Create a new Config.
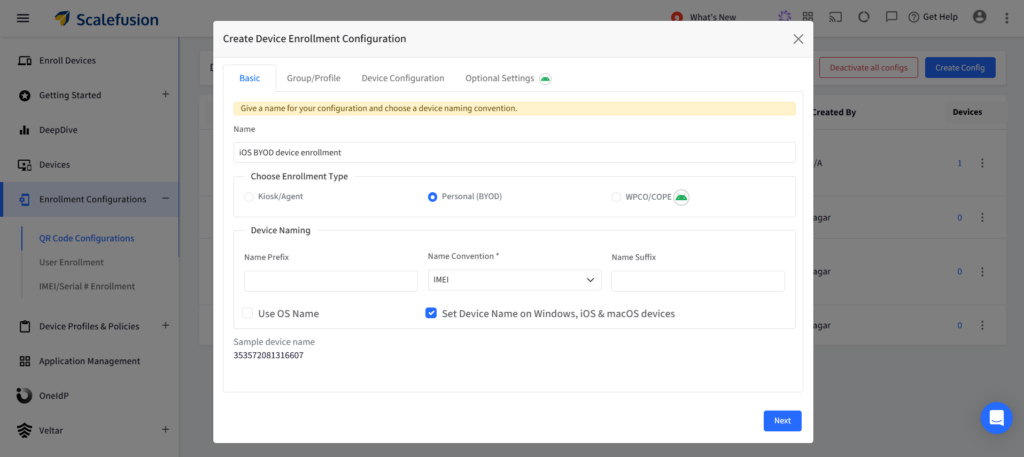
10. Add a name and choose the type Personal (BYOD). You can also add Name prefix and serial naming convention to the devices.
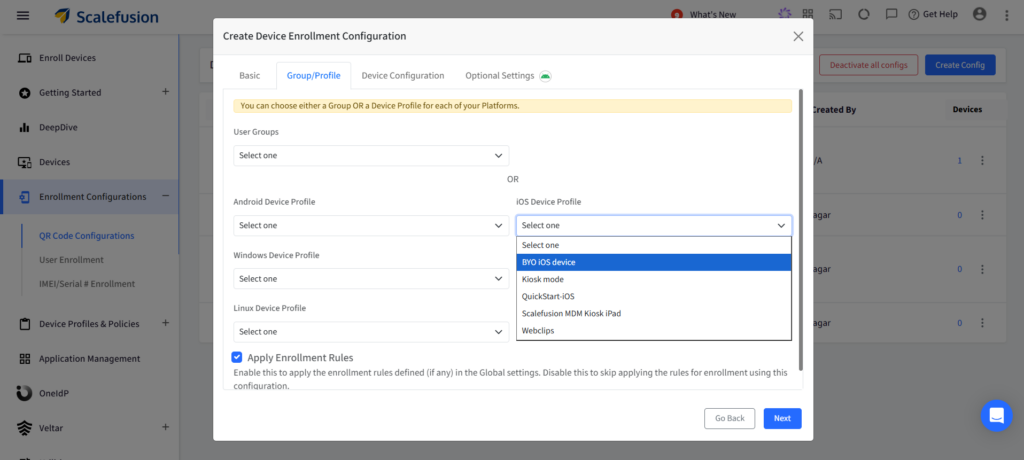
11. Continue to Group/Profile tab and select the iOS device profile we just created.
12. The configuration is now ready. You can start inviting users. You can customize the invitation email and choose a platform.
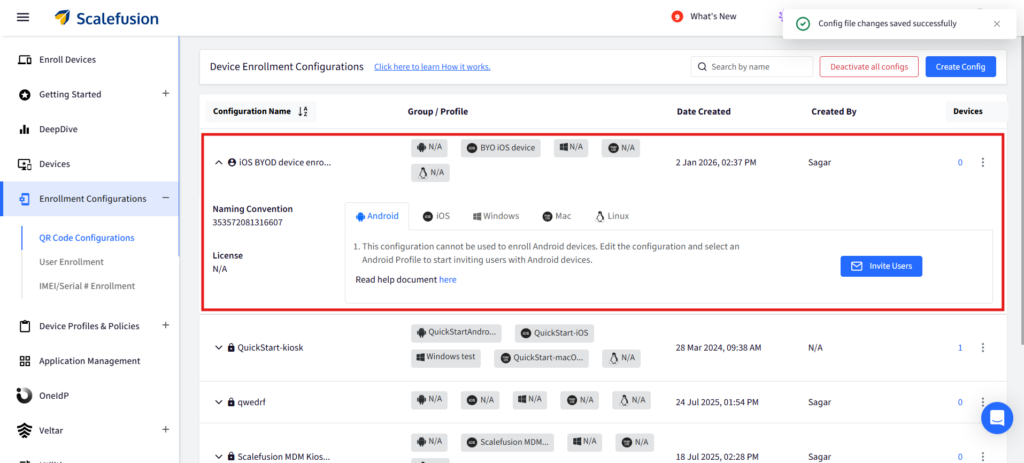
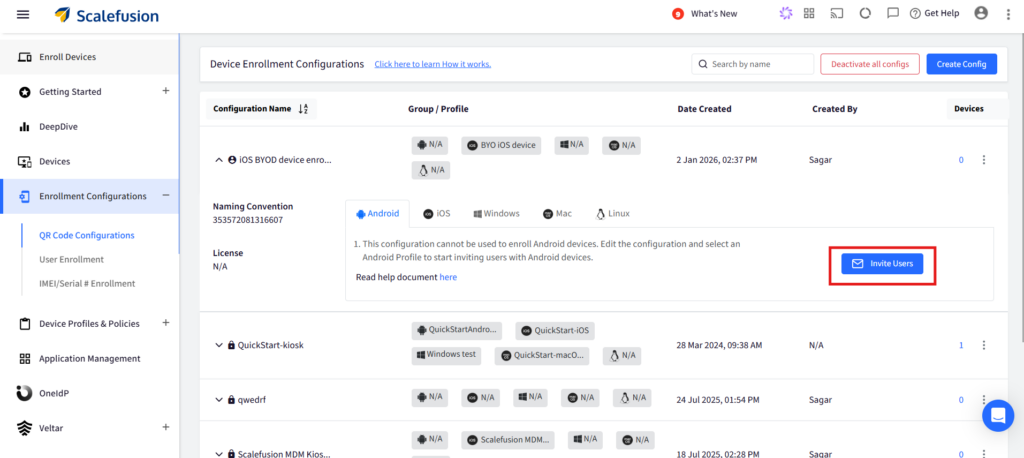
13. To invite users via email, click on “Invite Users”.
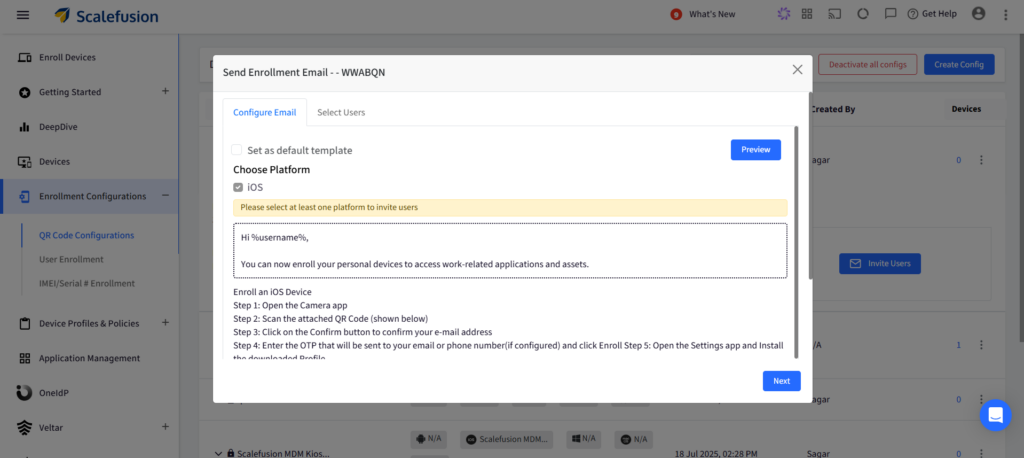
14. You can Configure the email and add more information if needed.
15. Select users that you want to invite with the enrollment configuration.
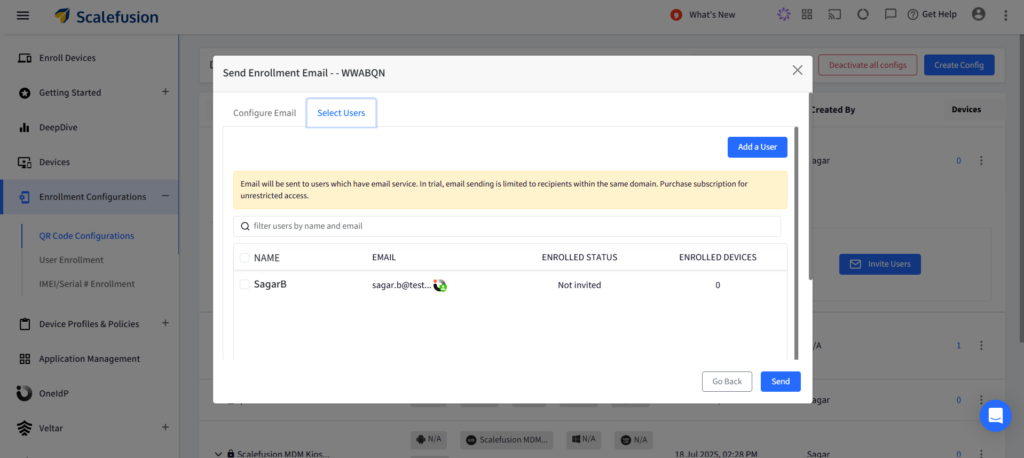
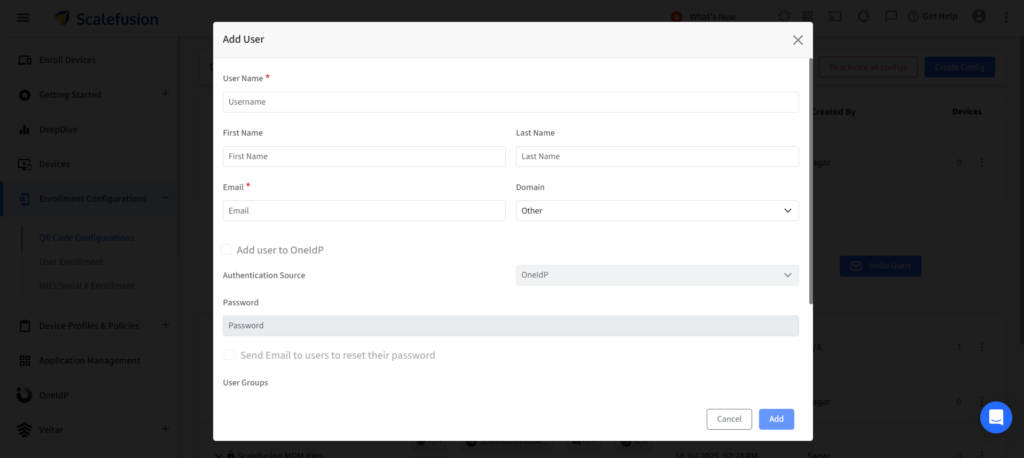
16. You can also add users and proceed to invite them. Bulk enrollment is streamlined by the ability to invite multiple users at the same time.
Secure your employee-owned iOS devices with Scalefusion iOS BYOD management.
Sign up for a 14-day free trial now.
On the Device side:
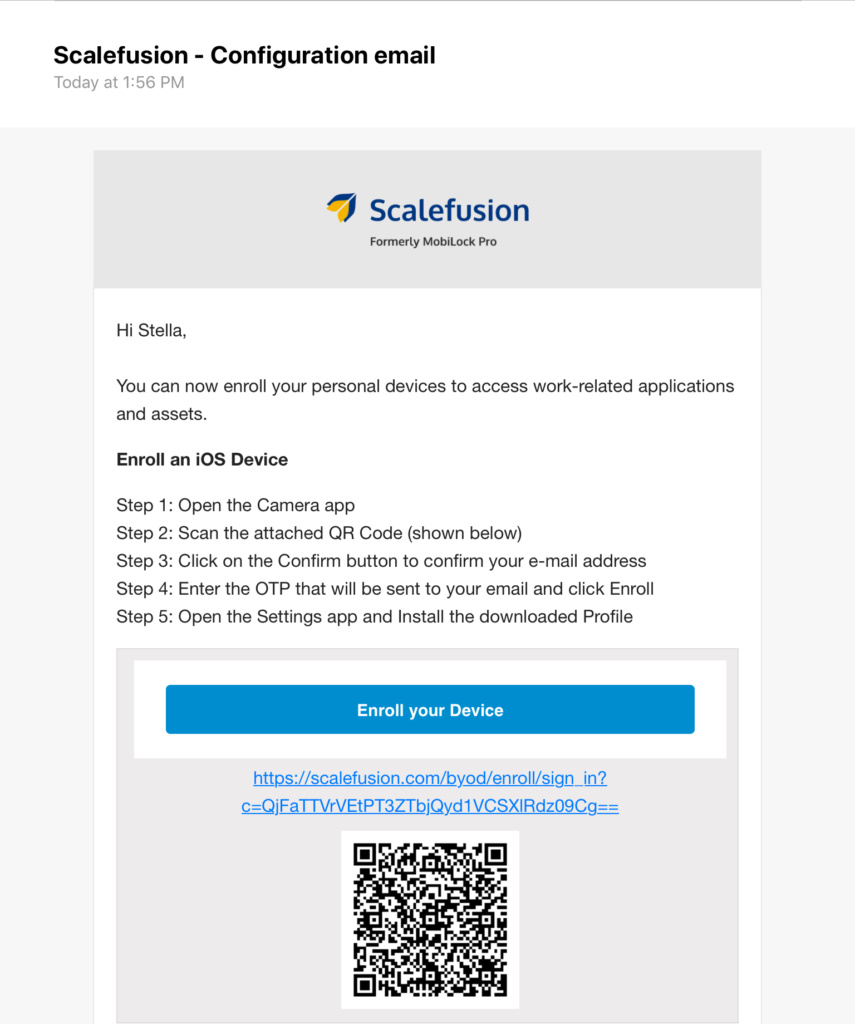
17. The user receives an email on the work email id. The user has to click on enroll to enroll into BYOD management.
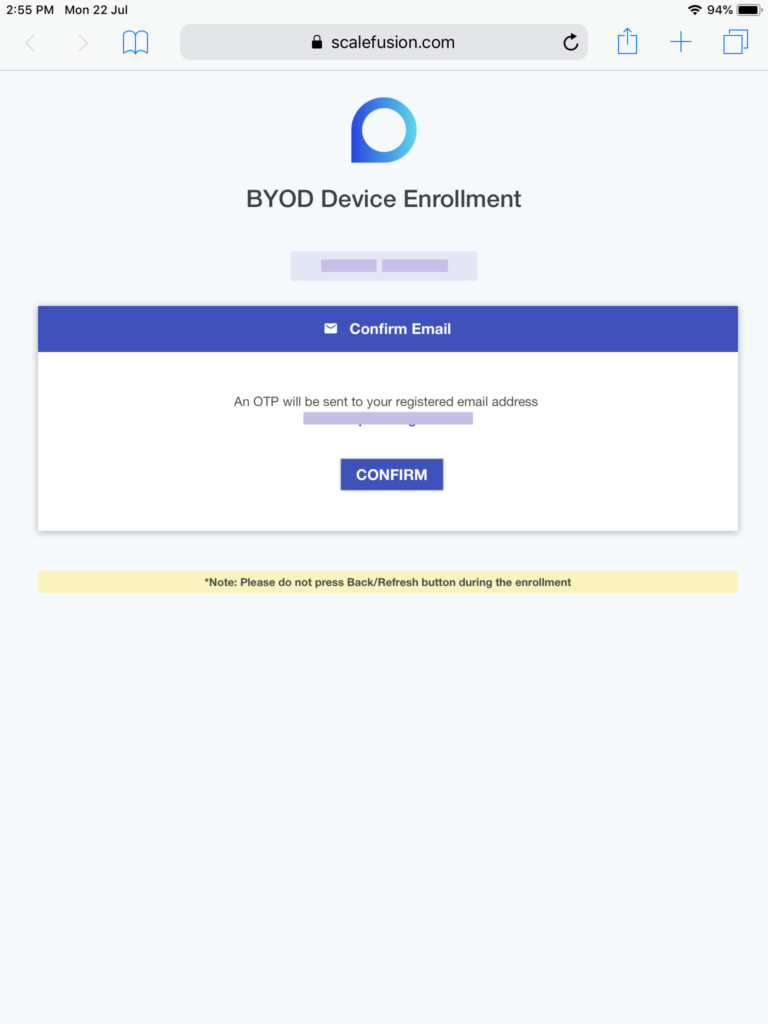
18. The setup email is opened up. To confirm the enrollment. An OTP is sent to the registered email ID.
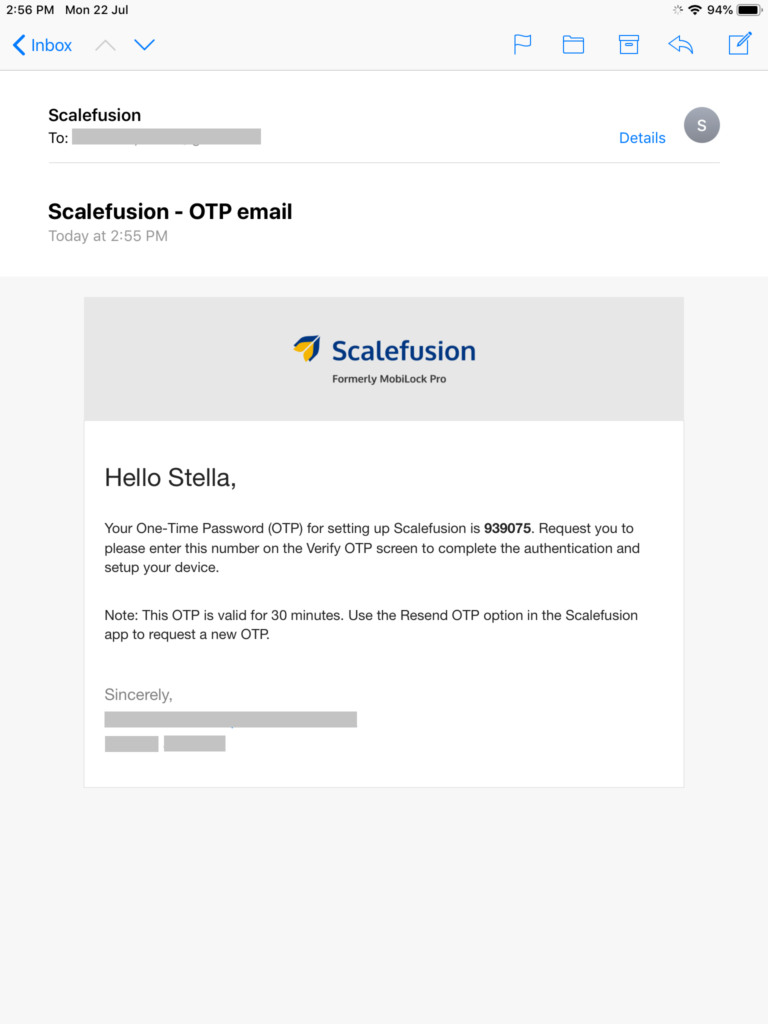
19. Once the OTP is received, the user has 30 minutes to complete the setup. After 30 minutes, a new OTP has to be generated.
20. After entering the OTP, the user is walked through the BYOD enrollment with the terms of use declared by the company admin on the Scalefusion dashboard.
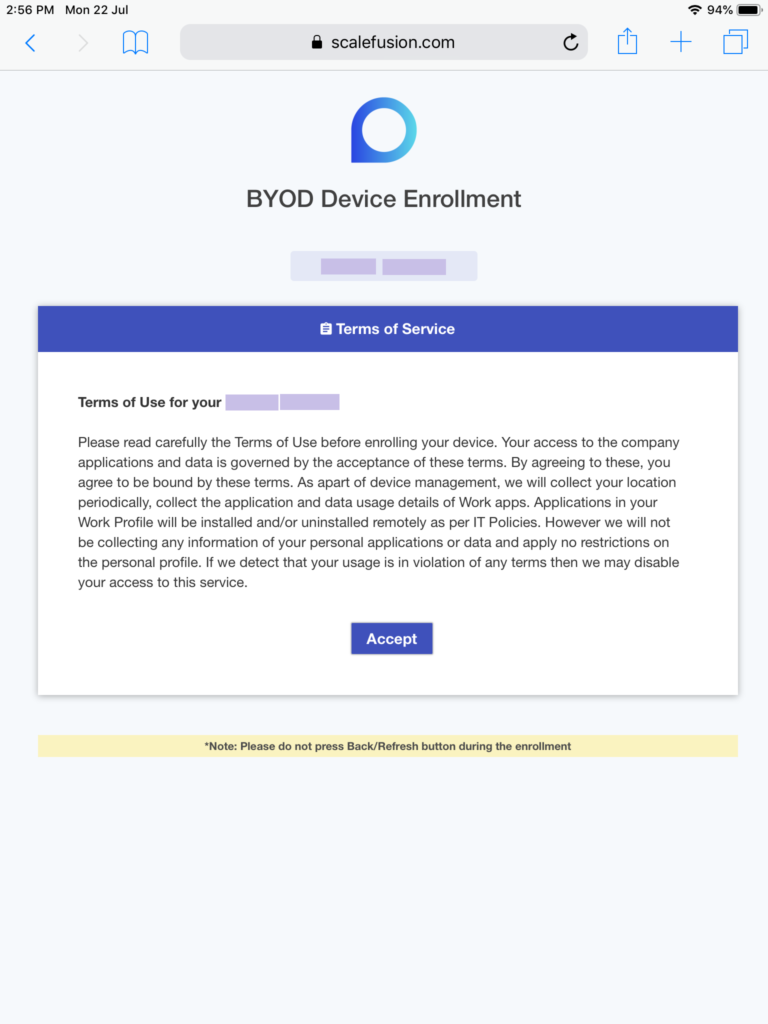
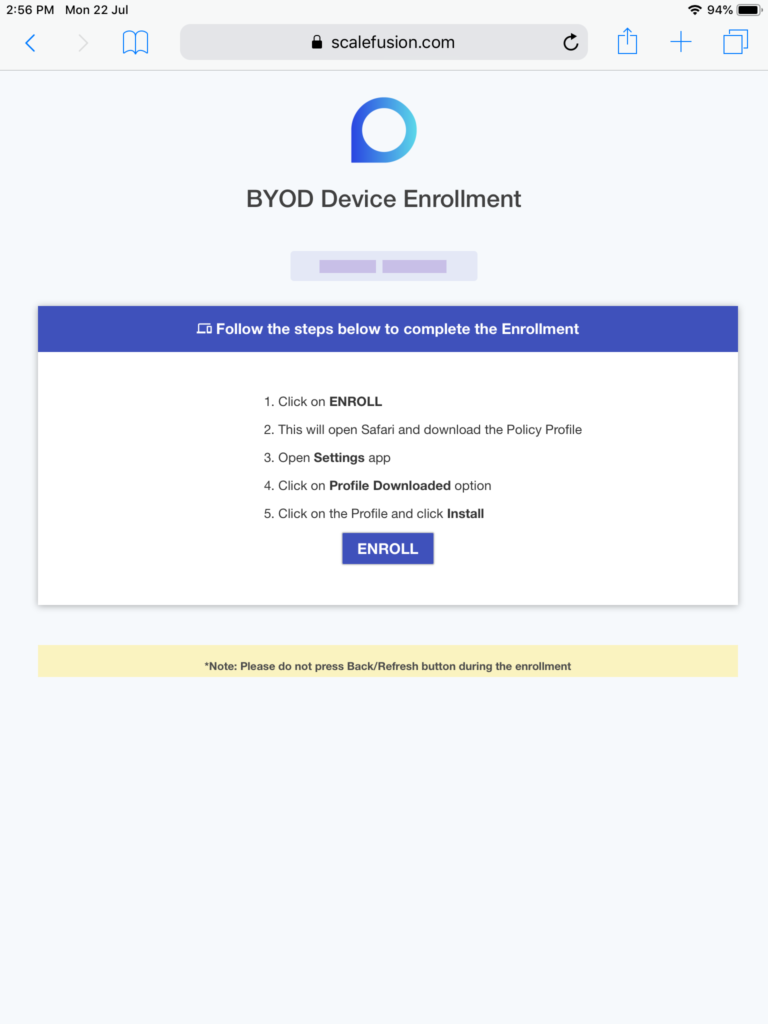
21. Once the user accepts the terms of use, profile download option is made available on the device screen. User has to click on enroll and the profile will be downloaded on the device.
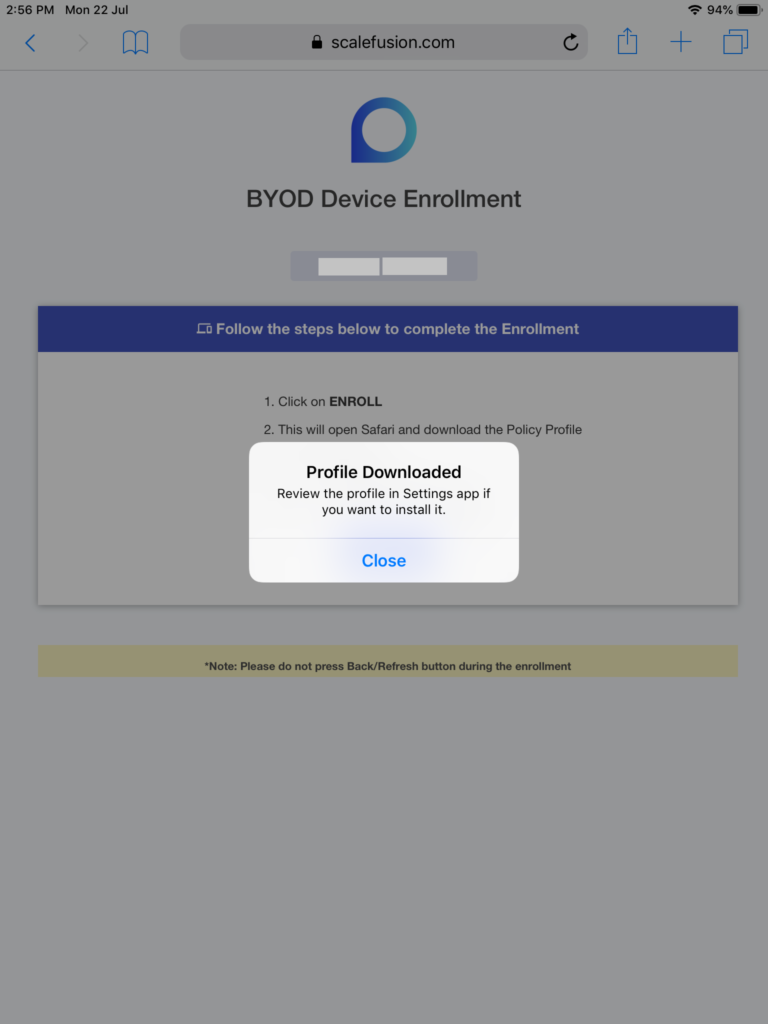
22. Once the profile is downloaded, it is available for installation. The user has to navigate to the settings app to install the BYOD profile.
23. Users can install the profile on the device to facilitate BYOD management on their device. The management profile will appear under the device management section of the settings app.
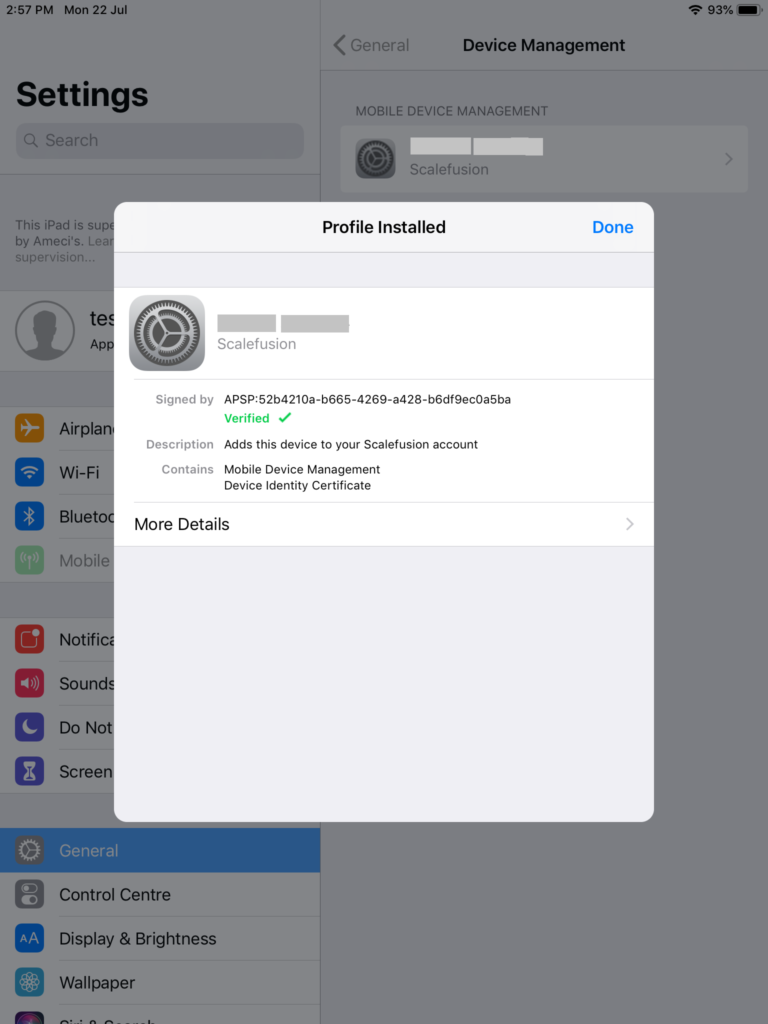
24. The device is now enrolled and can be monitored on the dashboard. To remove the business data and apps from the BYO device, admin can simply delete the device from the dashboard.

Enrolling BYO devices into Scalefusion iOS MDM is effortless, simple, and requires no technical assistance on the device side. This ensures that the BYO devices are enrolled over the air without IT intervention.
To know more, contact our experts and schedule a demo.
Sign up for a 14-day free trial now.
